
How Cerakote Works: The 9-Phase Process Behind a Finish That Actually Lasts

Cerakote is a ceramic polymer coating applied in 9 phases: disassembly, degreasing, masking, sandblasting, racking, gas-out, coating preparation, spraying, and curing. The finish lasts because of what happens before the coating is ever sprayed. Skipped prep steps are the reason most Cerakote jobs fail. A properly applied Cerakote finish on a firearm will outlast bluing, parkerizing, and any spray-on finish applied without correct surface preparation and cure.
Who This Is For
This is for gun owners evaluating Cerakote for a build or refinish, hunters who want a durable field finish, and anyone who has had a cheap Cerakote job peel or chip and wants to know why.
The finish on your rifle is the last thing that gets applied and the first thing that gets blamed when something goes wrong. A Cerakote job that peels, chips, or looks patchy within a season did not fail because of the coating. It failed because of what happened before the coating was ever mixed.
Redleg Company is a precision rifle gunsmith and custom builder in Chandler, MN. Not a gun store. Cerakote finishing is one of the services performed in-house at the shop, using the full Elite and H-Series process on every job, single color or multi-color pattern work. The builds shown in this post were all completed at the Chandler shop.
If you are planning a Cerakote job on a hunting rifle, a custom build, or a handgun, read this first. Understanding what the process actually requires will help you evaluate any applicator you talk to, including us.
👉 For a full list of current Cerakote pricing, visit redlegguns.com/services-offered.
What Cerakote Actually Is and Why It Performs
Cerakote is a ceramic polymer coating manufactured by NIC Industries. It is not paint. It is not a spray-on finish. It is a catalyzed ceramic coating that bonds to the prepared surface of the metal, polymer, or composite substrate through a controlled chemical cure process.
The coating itself is applied at 1 to 2 mils thick for H-Series and 0.6 to 1.1 mils for Elite Series. For reference, a human hair is approximately 2.5 mils. The coating is thin enough that it does not affect barrel dimensions or bolt fit on properly prepared firearms. What makes it durable is the ceramic content and the bond to the substrate, not the thickness.
Cerakote resists corrosion, abrasion, chemicals, and UV exposure significantly better than traditional firearm finishes. It is available in hundreds of colors and can be applied in multi-color patterns using stencil work. It works on steel, aluminum, polymer, carbon fiber, and fiberglass, each requiring different preparation parameters and cure temperatures.
For a comparison of Cerakote against traditional firearm finishes, read our guide to preserving firearm bluing and steel.
How Cerakote Compares to Bluing, Parkerizing, and Anodizing
Finish | Corrosion resistance | Thickness | Colors | Best fit |
Cerakote | Excellent, dry film | 1 to 2 mils (H-Series) | Hundreds, plus patterns | Working guns, custom builds, full refinishes |
Bluing | Fair, needs oil | Conversion layer, near zero | Black only | Classic and collector firearms |
Parkerizing | Good with oil | About 0.5 to 1 mil | Gray and green matte | Military-style working guns |
Anodizing | Good | Thin oxide layer | Limited | Aluminum parts only |
The comparison above is the short version. The bluing and Parkerizing guides linked in this article cover when each traditional finish is still the right call, because sometimes it is.
What Most Cerakote Applicators Get Wrong
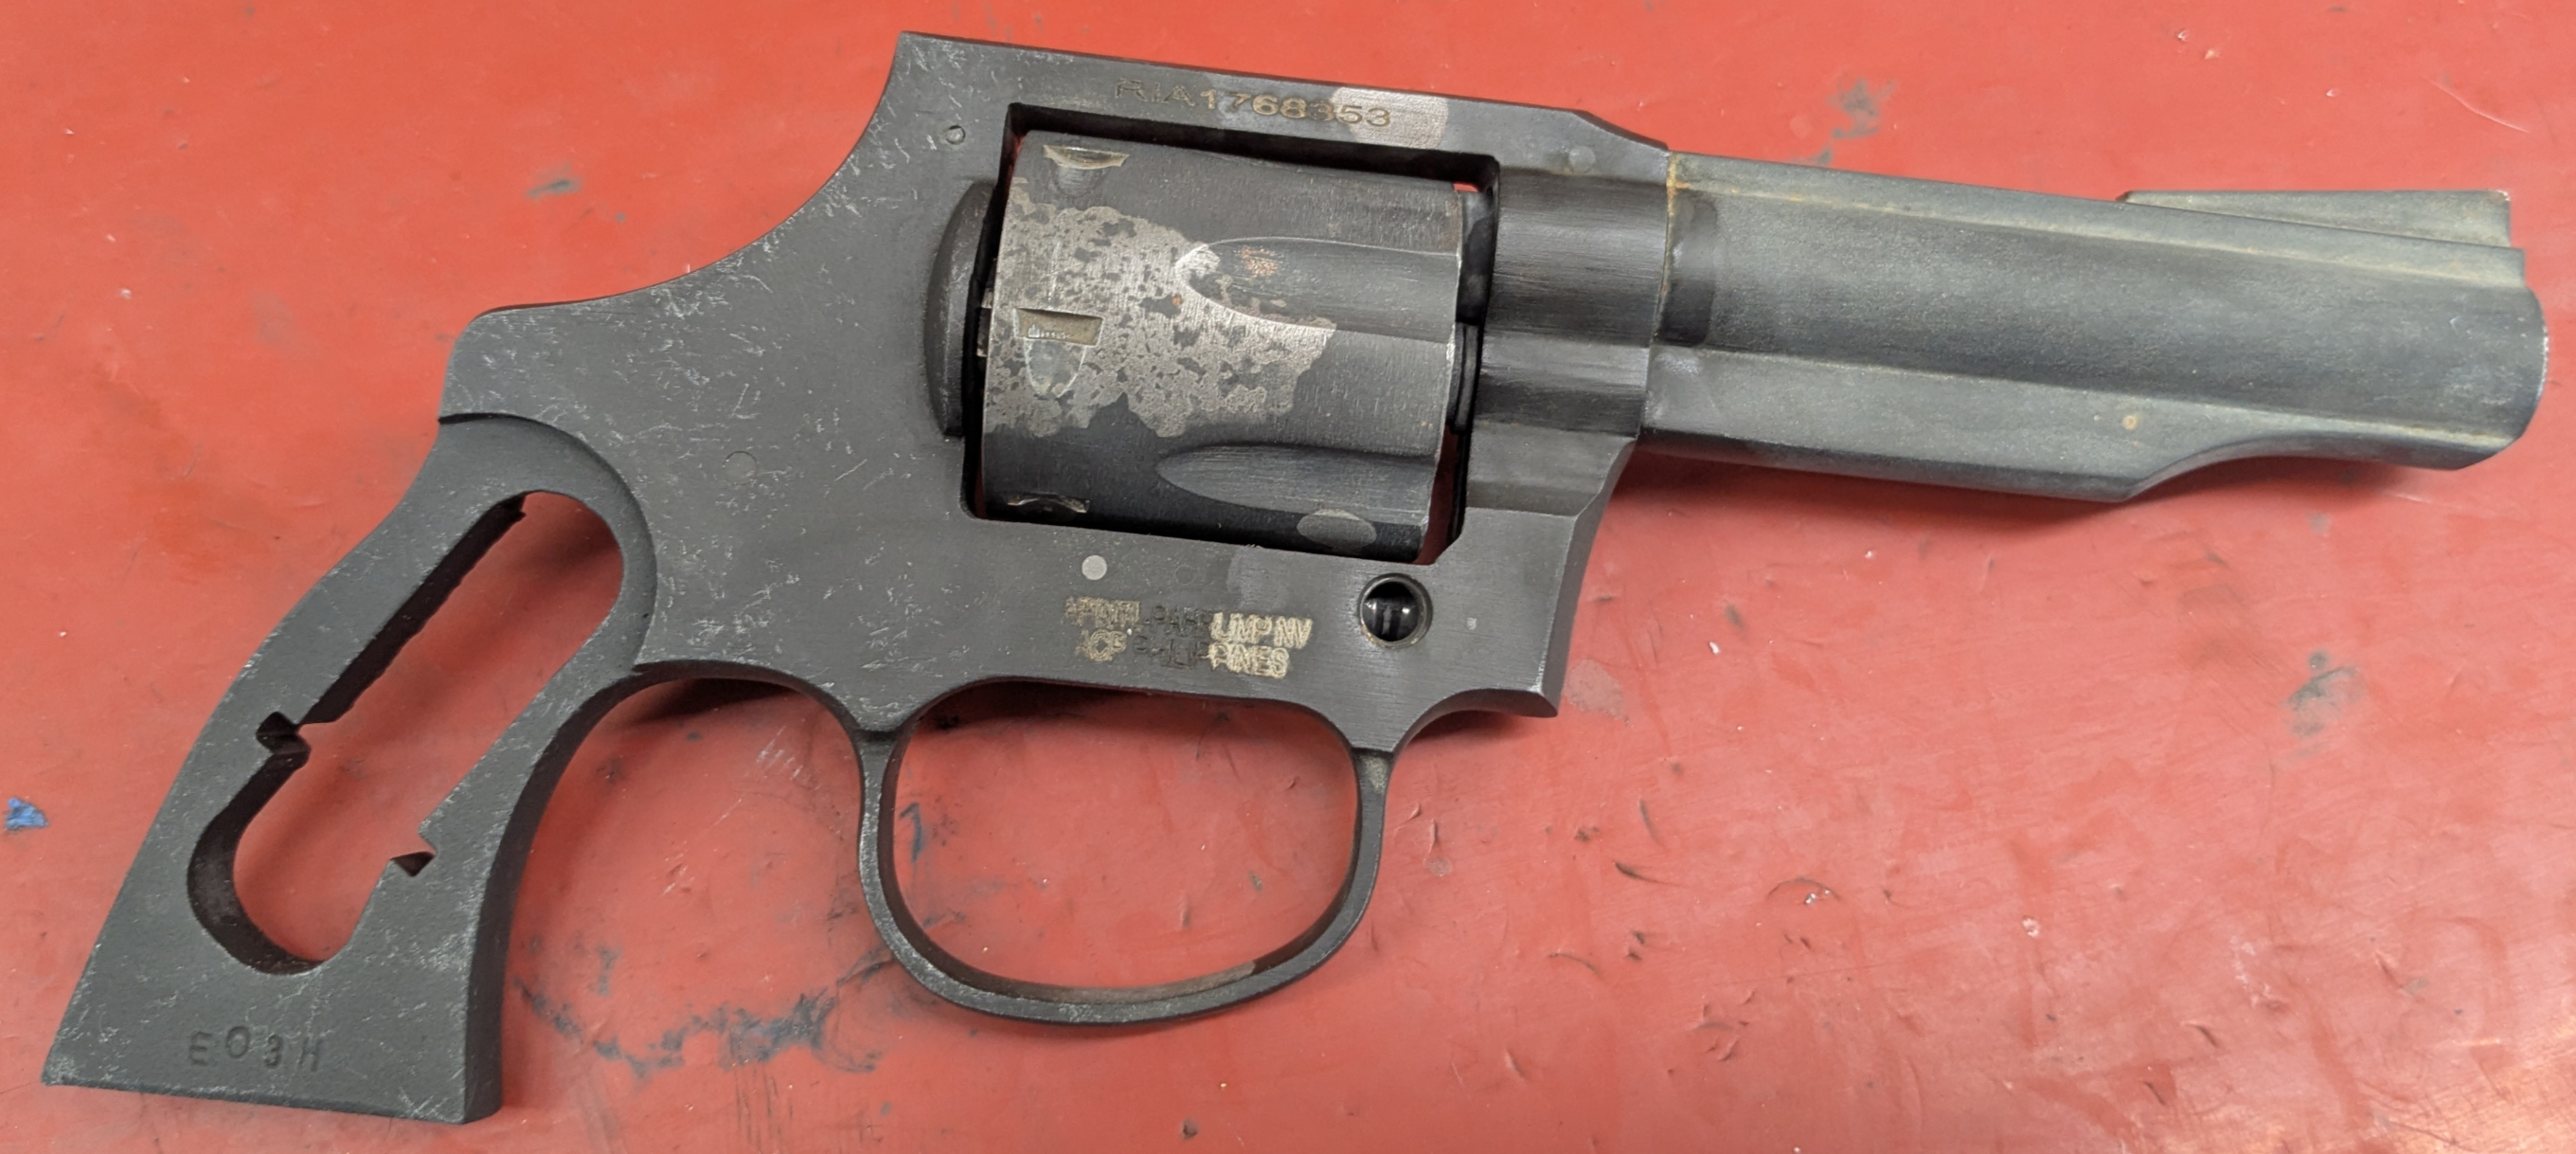
Skipping or rushing the degreasing and gas-out phases is the single most common cause of Cerakote failure.
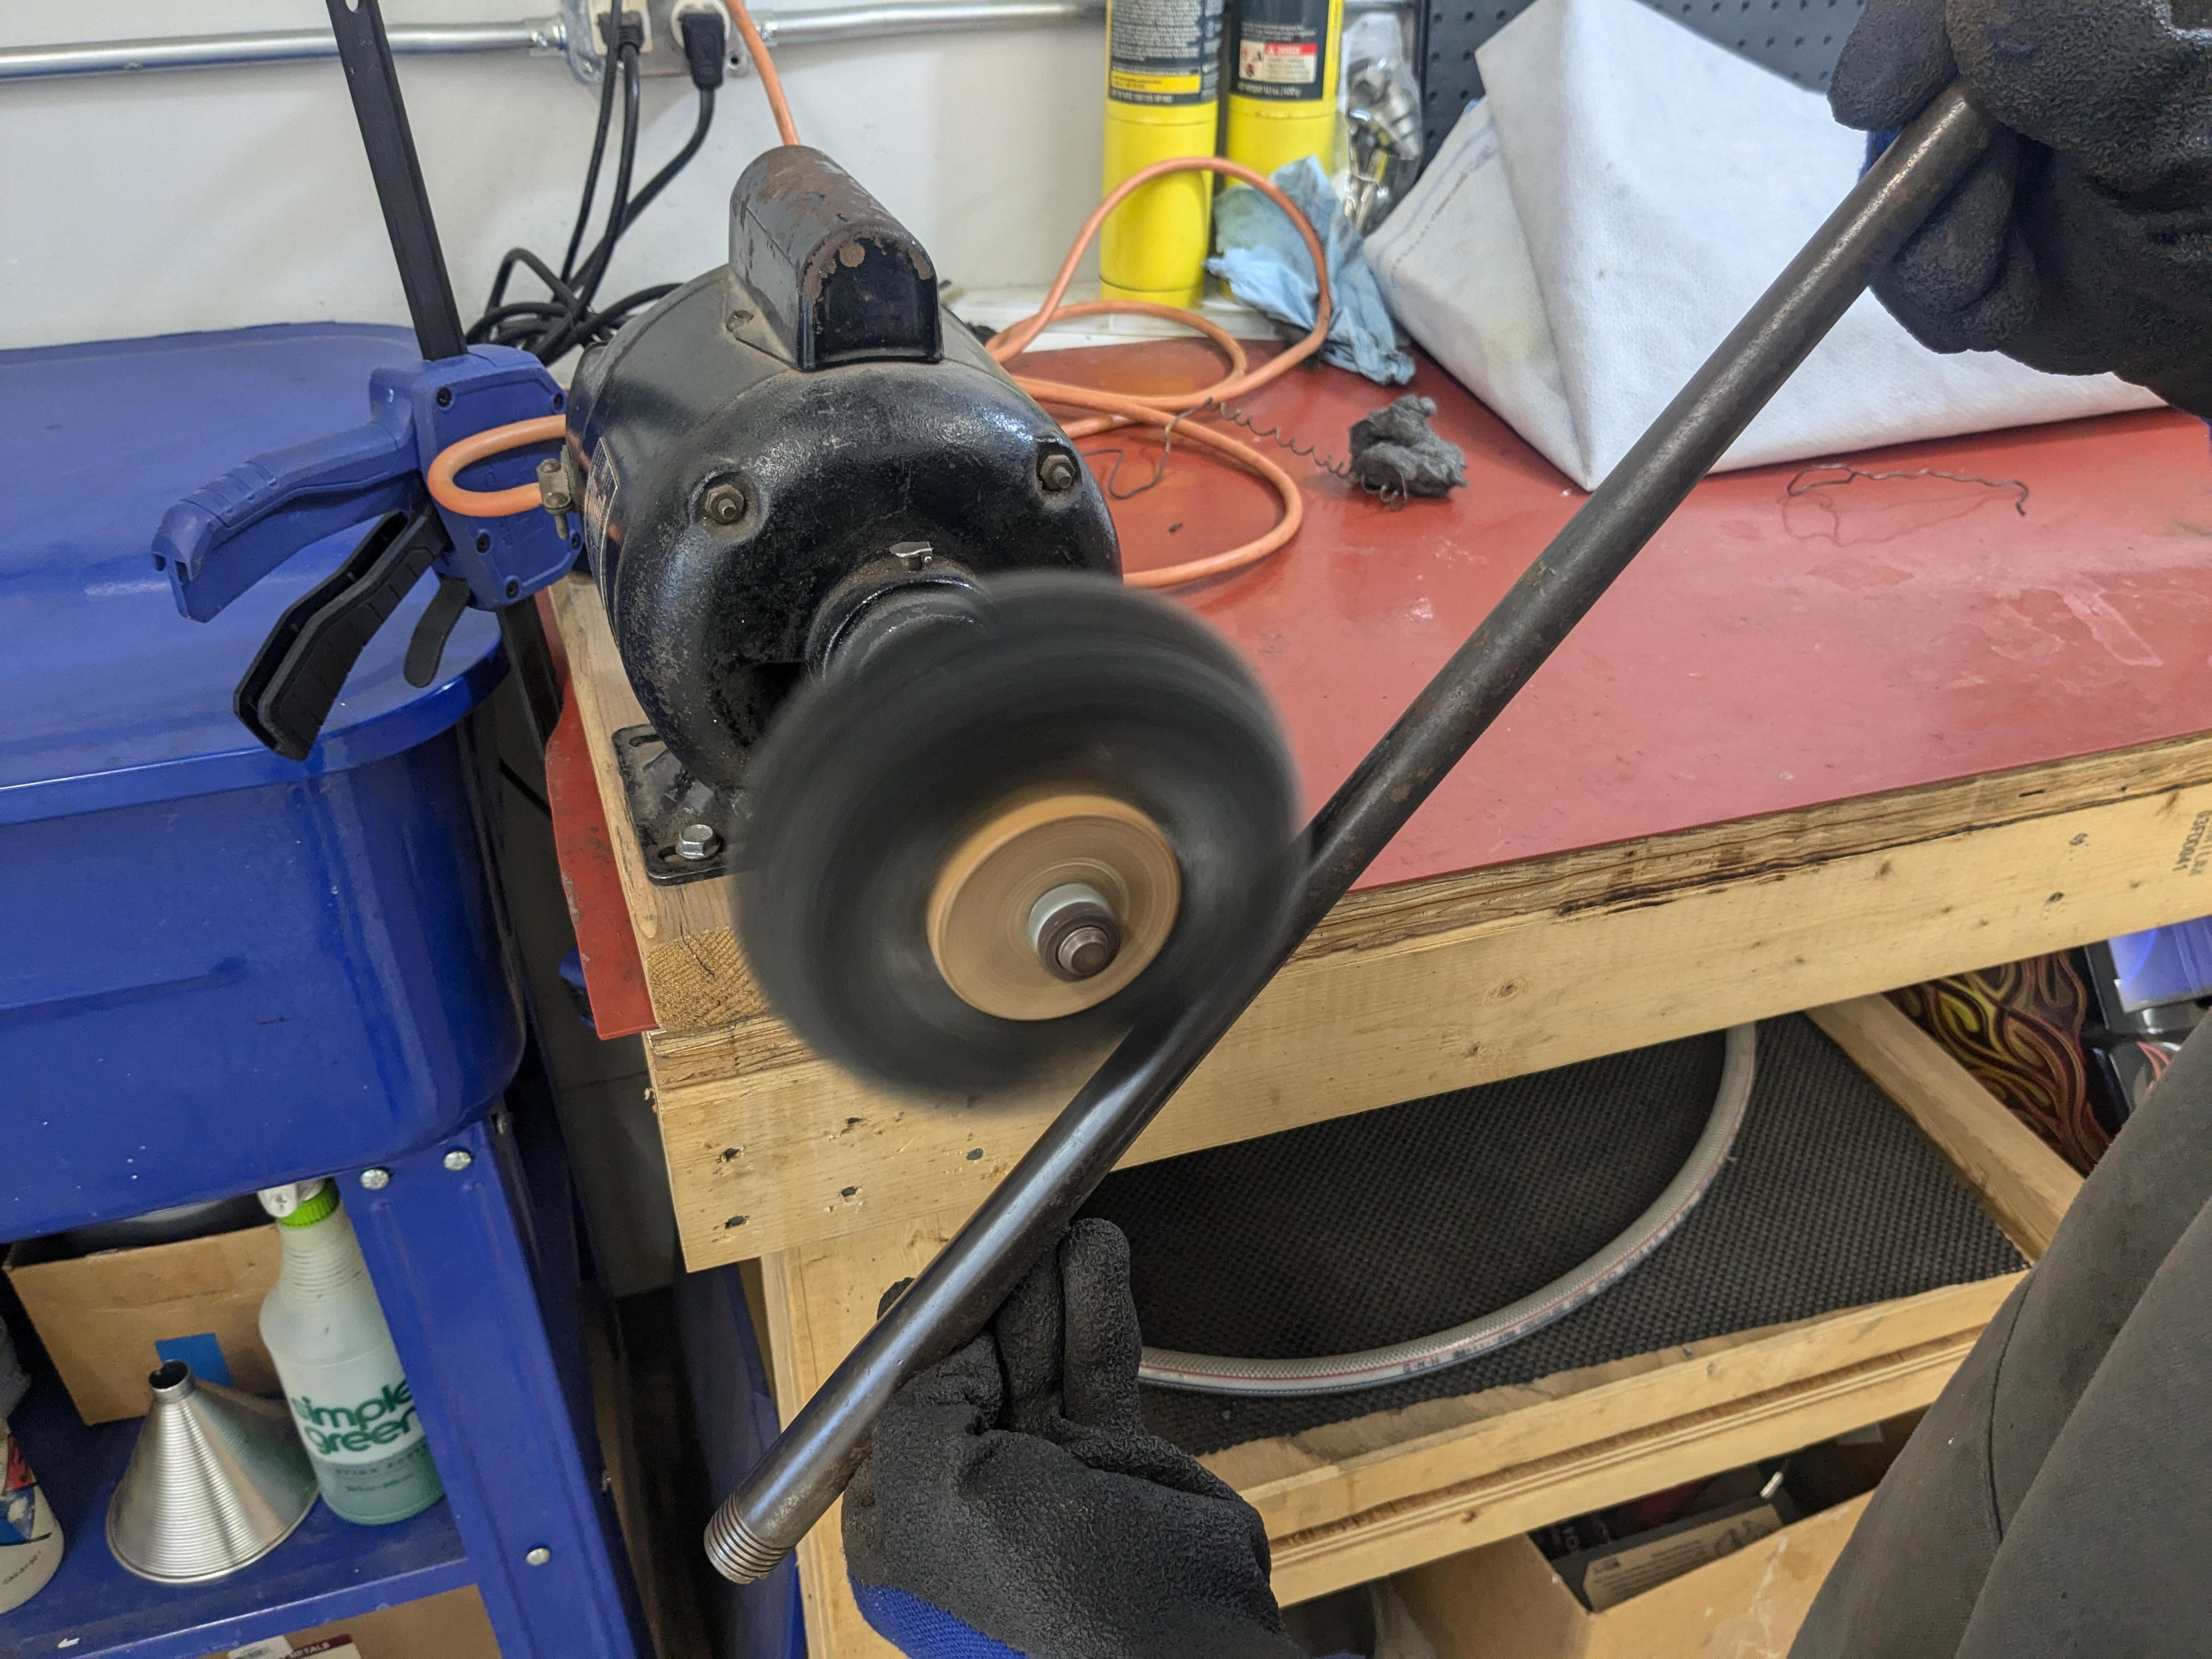
The process requires that every metal part be soaked in degreaser for 20 to 30 minutes. Spraying or wiping is not sufficient. Soaking is required. After degreasing, parts go into a convection oven at 300°F for 60 minutes for the gas-out phase. The gas-out cycle drives off any remaining solvent from the degreaser and, critically, draws trapped oils from inside the metal to the surface where they can be seen and removed.
If oil appears on any part during gas-out, the part goes back through degreasing, sandblasting, and gas-out again. The cycle repeats until no oil is visible. This is not optional. Oil on the surface under the coating will cause adhesion failure. It does not matter how well the coating is sprayed. The prep was wrong and the finish will show it.
The second major failure point is contamination after degreasing. From the moment parts come out of the degreaser, they are handled with powder-free nitrile or latex gloves only. Skin oils transferred to a degreased part will cause adhesion failure in that exact spot. The process from degreasing through spraying must be surgical. Any contamination in that window means the prep work starts over.
Most shops that produce failing Cerakote work are either skipping the gas-out cycle entirely, using a wipe-down instead of a soak for degreasing, or handling parts without gloves after prep. All three are visible failures waiting to happen.
The Full 9-Phase Process at Redleg
Phase 1: Disassembly
The firearm is detail-stripped completely. Every part is inventoried and identified by substrate type: steel, aluminum, polymer, composite. Each substrate requires different preparation temperatures and different cure parameters. A firearm with steel and aluminum components in the same job is not treated as a single uniform object. It is treated as multiple substrate types that each go through the process correctly.
Phase 2: Degreasing
Metal parts are soaked in degreaser for 20 to 30 minutes. The degreaser used must be compatible with Cerakote. Acetone, brake parts cleaner, and tert-butyl acetate are all acceptable. After soaking, parts are removed and allowed to air dry. From this point forward, parts are handled with gloves only. No bare hands.
Polymers, plastics, and composites are wiped down thoroughly with a lint-free cloth and a wax and grease remover. The soaking method used for metal parts is not appropriate for non-metal substrates.
Phase 3: Masking
Areas that must not be coated are plugged or masked before sandblasting. Bore plugs, chamber plugs, and masking tape protect critical surfaces. Improper masking on mechanical parts can cause tolerance or function issues after curing. Cerakote is thin but it is not zero. Threads, chamber dimensions, and locking surfaces are masked before any abrasive work begins.
Phase 4: Sandblasting
All metal surfaces are sandblasted with 100 grit aluminum oxide or garnet at 80 to 100 PSI. Non-metal parts are lightly etch-blasted at 30 to 40 PSI. Glass beads and steel shot are not used. Round media dimples the surface rather than etching it and will not produce the surface profile Cerakote requires for adhesion.
The blast media must be clean. Media previously used on dirty, greasy, or oily parts will contaminate the surface and cause adhesion failures. If the surface still appears shiny after blasting, the blast was insufficient. The finished blast should produce an even matte profile across every surface to be coated.
Anodized aluminum parts require blasting but do not need to have the anodized finish completely removed. A light etch at 30 to 40 PSI producing a dull, matte appearance is sufficient.
Phase 5: Racking
Parts are racked on metal hooks so that every surface can be reached by the spray gun without the parts touching each other or any other surface. Heaviest parts go at the bottom of the rack. Small parts, pins, and screws are handled with gator clips clamped on non-visible surfaces or threaded areas. Parts racked incorrectly will have uncoated contact points in the finished job.

Phase 6: Gas-Out
Racked metal parts go into the convection oven at 300°F for 60 minutes. This is not a warm-up step. It is a critical phase that drives residual solvent out of the metal and draws any trapped oils to the surface. If oil appears after gas-out, the part comes out, cools to room temperature, goes back through degreasing and blasting, and gets gassed out again. The cycle repeats until the part comes out of the oven completely clean.
Plastics, polymers, and composites are gassed out at 150 to 180°F for 60 minutes. Running non-metal parts at metal gas-out temperatures will damage or destroy them.
Phase 7: Coating Preparation
Cerakote is agitated for 5 to 10 minutes before any catalyst is added. Catalyst ratio determines the finished gloss level: 24:1 for lower gloss, 18:1 for standard gloss, 12:1 for higher gloss. The Cerakote and catalyst are mixed in a glass or compatible plastic container, shaken for 30 to 60 seconds, and strained through the appropriate mesh size into the spray gun cup. Mixed Cerakote has a pot life of approximately 1 to 2 hours. Only what will be used in that window is mixed. Unused catalyzed Cerakote is never returned to the original bottle.


Phase 8: Spraying
Spraying is performed in a well-ventilated, well-lit spray booth with a HVLP gun at 20 to 25 PSI for H-Series and 25 to 30 PSI for Elite Series. The spray pattern is adjusted to a 2 to 3 inch oval fan at a distance of 3 to 5 inches from the part. Parts are started in the most difficult areas first, then worked toward the easier surfaces to avoid runs and thin spots.
The coating should appear wet on the surface during application. Dry spray, which has a rough sandpaper appearance, is caused by spraying too far from the part, too much air pressure, or insufficient material flow. Dry spray is the most common application error and produces a finish that will not perform correctly even if it looks acceptable at first.

For multi-color and pattern work, Redleg cuts custom stencils in-house using a fiber laser. Most applicators purchase pre-made vinyl stencil patterns from third-party suppliers. Redleg designs and cuts its own patterns, which means the stencil geometry can be fitted precisely to the specific firearm and the pattern can be fully customized. After the base color is sprayed and flash-cured at 150 to 180°F for 10 to 30 minutes, the laser-cut stencils are applied, the second color is sprayed over them, and the stencils are removed to reveal the pattern. Each additional color requires its own flash cure cycle before the next color goes on.

Phase 9: Cure Schedule
Cure temperatures and times are substrate-specific and cannot be interchanged.

Substrate | Series | Temperature | Time |
Metal | H-Series | 250°F (121°C) | 2 hours |
Metal | Elite Series | 300°F (148°C) | 1 hour |
Plastic/Polymer | Either | 150-180°F (65-82°C) | 2 hours |
Composites/Carbon Fiber | Either | 150°F (65°C) | 2 hours |
A firearm with both metal and polymer components in the same job requires that the metal and polymer parts be cured separately at their correct temperatures. Curing a polymer part at metal cure temperatures will damage it. After cure is complete, parts cool to room temperature before reassembly and function testing.


Real Shop Builds: What the Process Produces
6.5 Grendel AR - Kryptek Raid Pattern Graphite and steel gray base with bright green accent. Multi-color stencil work across the receiver, handguard, and Magpul PRS stock. The green accents in the lower receiver cutouts and along the handguard rail require precise stencil placement to land correctly on recessed surfaces. Laser-cut stencils make that precision repeatable.
The rifle under that pattern has its own writeup:

Colt AR - Winter Kryptek White and gray winter Kryptek pattern on a full AR platform with Sig Sauer optic. Winter camo Cerakote jobs are popular for predator hunters in the upper Midwest who run their rifles in snow. The pattern breaks up the rifle's outline at the ranges coyotes are typically shot.

For what upper Midwest predator hunters chase with rifles like this, read

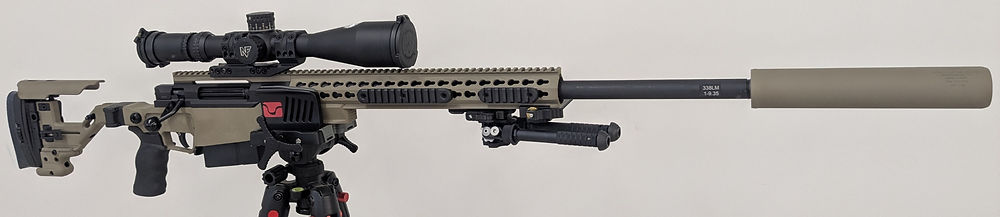
Suppressed AR - Multi-Pattern Winter Camo White and tan multi-layer pattern on a suppressed platform with a lattice handguard. Multi-surface jobs on suppressed rifles require that the suppressor and barrel be handled as separate components with thread-fit verified after curing.

Thinking about adding a can of your own? Start with
Glock - Black and Red Kryptek Black base with red Kryptek pattern on a Glock handgun. Handgun Cerakote at Redleg runs $200 for a single color. The red-over-black Kryptek on this job required a flash cure between the base coat and the stencil application.

Digital Camo AR - OD Green Three-color digital camo pattern on a full AR with bipod and Vortex optic. Digital patterns require clean stencil edges to read correctly. The fiber laser produces cut quality that hand-cut or vinyl cutter stencils cannot match on small, repeated geometric shapes.

Green Brown FAL Rifle Black base under a green and brown multi-tone camo on an FAL platform rifle. FAL style rifles present unique geometry challenges at the receiver and gas system that require custom masking solutions on every job.

Henry Lever-Action - American Flag Red, white, and blue American flag pattern on a Henry lever-action with M-LOK handguard. Three-color stencil job with white base, red stripes, and blue field with laser-cut stars. This is among the most detail-intensive single-firearm jobs in the shop's gallery.

Cerakote Pricing at Redleg
Service | Price |
Cerakote Handgun (one color) | $200 |
Cerakote Long Gun (one color) | $300 |
Additional color | $100 per color |
Parts prep and masking | $95/hr |
A long gun with two colors, such as a Kryptek base and accent, is $300 base plus $100 for the additional color. Multi-color and stencil work with more than two colors is quoted per job based on pattern complexity and masking time.
Redleg ships nationwide. Firearms can be shipped to the Chandler shop for Cerakote work and returned to your local FFL. Full service list and current pricing at

👉 Call 507-677-6007 or email info@redlegguns.com to discuss your project.
What to Read Next

Frequently Asked Questions
Does Cerakote affect the dimensions of my barrel or bolt? No. The coating is applied at 1 to 2 mils thick, which is thin enough that it has no meaningful effect on barrel dimensions or bolt fit in a properly chambered and fitted rifle. Threads, chamber surfaces, and locking lugs are masked before coating. The coating that ends up on any exterior surface wears to zero tolerance in the first cycles of use without affecting function.
How long does a Cerakote finish last on a hunting rifle? A properly applied Cerakote finish on a hunting rifle will outlast the rifle's useful life in normal field conditions. The durability comes from the ceramic bond to the substrate, not from the thickness of the coating. Abrasion resistance, corrosion resistance, and UV resistance are all significantly better than traditional firearm finishes. The limiting factor on longevity is prep quality, not the coating itself.
Can Cerakote be applied over an existing finish? No. Existing finishes must be removed before Cerakote is applied. Bluing, parkerizing, anodizing, and previous Cerakote jobs all require sandblasting before new Cerakote can be applied. Cerakote applied over an existing finish will not bond to the substrate correctly and will fail prematurely.
What is the difference between H-Series and Elite Series Cerakote? H-Series cures at 250°F for 2 hours and produces a coating 1 to 2 mils thick. Elite Series cures at 300°F for 1 hour and produces a thinner coating at 0.6 to 1.1 mils with tighter dimensional tolerance. Elite Series is the preferred choice for precision-fit components where dimensional control matters. Both series are available at Redleg.
Can you Cerakote a suppressor? Yes, with conditions. Suppressors contain baffles and internal components that reach high temperatures during firing. Standard H-Series and Elite Series Cerakote are rated to 500°F. Suppressor baffles in high-volume fire can exceed that threshold. External suppressor surfaces and end caps are routinely Cerakoted. Internal baffles on high-volume-fire suppressors may require high-temperature coating variants. Contact us to discuss your specific suppressor before booking.
How do you create custom camo patterns? Redleg cuts custom stencils in-house using a fiber laser. The base color is sprayed and flash-cured. Laser-cut stencils are applied in the pattern layout, the second color is sprayed over them, and the stencils are removed to reveal the pattern. Each additional color requires its own flash cure before the next stencil application. The fiber laser allows pattern geometry to be designed from scratch and fitted precisely to the specific firearm rather than using standard off-the-shelf stencil shapes.
What does a Cerakote job cost at Redleg? Single-color long gun Cerakote starts at $300. Handguns start at $200. Each additional color is $100. Pattern and masking work requiring additional prep time is billed at $95 per hour. Full pricing is at
Redleg Company is a precision rifle gunsmith and custom builder in Chandler, MN. Brandon Lolkus is a U.S. Army National Guard combat veteran, retired, holds a gunsmithing and machining degree from Pine Technical College, trained under Gordy Gritters at the Extreme Accuracy Institute, and runs the shop as a Type 7 FFL with a Class 2 SOT. Every barrel that leaves the shop is chambered to under .0005 inch runout. Cerakote finishing, custom rifle builds, barrel threading, action blueprinting, and NFA suppressor transfers are performed in-house at the Chandler shop. Firearms are accepted for service from customers nationwide.
Last updated: July 2026 | Data based on Cerakote jobs completed at Redleg Company, Chandler, MN.


Comments