
🔥 Primer Seating, Powder Charging & Bullet Seating — With Redleg Techniques
- Brandon Lolkus

- Apr 14, 2025
- 5 min read
Updated: 2 days ago
🔧 CHAPTER 1: PRIMER SEATING
The primer might be small, but it’s where the shot starts literally. Inconsistent primer seating can cause hangfires, erratic ignition, vertical stringing, or complete failures. Precision reloaders treat primer seating as carefully as they do bullet jump or powder charge.
🧪 1.1 Understanding Primer Pocket Fit & Tension
Brass undergoes metal fatigue after multiple firings. Every time you fire a round, the pressure inside the case tries to push the primer out, and that pocket expands microscopically. Eventually, it loses the ability to hold a primer tightly, which introduces ignition variance or even primer blowouts.
🎯 Why This Matters:
Loose pockets reduce ignition reliability
Increased Extreme Spread (ES) and Standard Deviation (SD)
Higher chance of pierced or backed-out primers
🔎 1.2 Primer Pocket Gauging Go / No-Go Tools
Tools:
21st Century Shooting Primer Pocket Go/No-Go Gauge Set
Short Action Customs (SAC) Primer Pocket Comparator Pins

These aren’t optional for precision reloaders they tell you whether a piece of brass is still serviceable or should be scrapped.
🧰 How It Works:
GO Pin: If this doesn't fit, your pocket may have carbon buildup or be undersized. Uniform it.
NO-GO Pin: If this drops in freely, the primer pocket is too loose. That piece of brass is no longer suitable for precision or hunting use.
💡 Spec:
Large rifle primer pockets = ~0.210” dia., ~0.118"–0.122" depth
Small rifle primer pockets = ~0.175” dia., ~0.118"–0.122" depth
🛠️ 1.3 Uniforming Primer Pockets
Uniformers don’t just clean they cut pockets to a uniform depth, ensuring the primer seats to the same depth, every time.

Tools:
K&M Primer Pocket Uniformer (adjustable, carbide cutter)
Sinclair Primer Pocket Uniformer
RCBS Primer Pocket Brush (for cleaning only)

🔄 Process:
Insert uniformer in a drill or use by hand.
Cut until the tool bottoms out cleanly and evenly.
Check depth with a pin gauge or depth micrometer.
💡 Why it matters:
Uneven primer pockets = uneven primer seating pressure = inconsistent ignition delay.
🤏 1.4 Primer Seating Tools & Techniques
You want a primer seated:
Fully into the pocket
0.003”–0.005” below flush
With even pressure, not crushed or tilted

Tool Comparison:
Tool | Type | Notes |
Competition Primer Seater Primal Rights | Bench Mount | Great feel, excellent for precision |
Forster Co-Ax Bench Primer | Bench | Consistent seating depth, fast |
RCBS Universal Hand Primer | Manual | Reliable, tactile, versatile |
On-press priming | Progressive/single-stage | Fast but lacks precision feedback |
Advanced Users: Use dial indicator setups to measure exact seating depth post-installation.

💡 Tip: Rotate your case 180° and seat again this “burnishes” the primer into the pocket and eliminates unevenness.
⚖️ CHAPTER 2: POWDER CHARGING CONSISTENCY IS KING
Powder charge weight is one of the biggest influencers of muzzle velocity and pressure. Slight inconsistencies can wreck your SD/ES and open up groups especially at long range.
💻 2.1 Using QuickLOAD: Internal Ballistics at Your Fingertips
QuickLOAD is a predictive modeling software that simulates:
Chamber pressure
Barrel time
Muzzle velocity
Case fill %
Muzzle pressure
Powder efficiency (% of powder energy converted to projectile energy)
🧠 Why You Should Use It
Avoid pressure spikes before ever loading a round
Fine-tune for harmonic nodes using barrel time estimates
Pick powders based on their burn curves and consistency
Calculate performance deltas across temperature ranges
📌 Example:
6.5 Creedmoor / 140gr ELD-M / H4350 / 26” Barrel
QuickLOAD outputs might show:
41.5gr = 2685 fps @ 94% fill, 48,000 PSI
42.5gr = 2750 fps @ 98.5% fill, 55,000 PSI
43.0gr = 2780 fps @ 101% fill, 59,000 PSI ← approaching pressure ceiling
This modeling helps you choose a safe, efficient load range to test with a chrono.
⚙️ 2.2 High-End Powder Dispensing Tools
Tool | Accuracy | Speed | Best For |
AutoTrickler + A&D FX-120i | ±0.02gr | Medium | Precision match loads |
RCBS Chargemaster Supreme | ±0.04gr | Fast | High-volume, hunting loads |
Prometheus Gen II | ±0.01gr | Slow | World-class benchrest shooters |
Manual trickler + beam scale | ±0.01gr | Very slow | OCD perfectionists |
💡 Pro Tip: Always let your scale warm up, and weigh certified check weights to verify before your session.

🔍 2.3 Environmental Control & Best Practices
Room temp & humidity affect powder throw
Always keep your bench free of vibration
Weigh every charge for ladder/OCW testing no exceptions
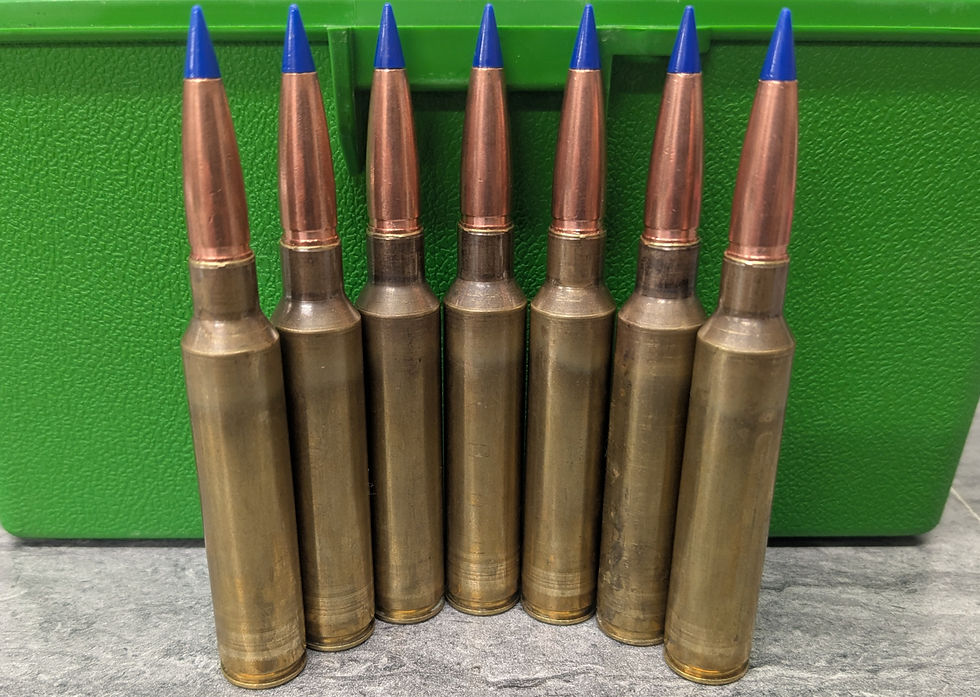
🎯 CHAPTER 3: BULLET SEATING EXTREME PRECISION
Once you’ve got perfect brass, primers, and powder charges, bullet seating becomes the final gateway to accuracy. This is where bullet jump tuning and alignment come into play.
📏 3.1 CBTO vs. COAL
COAL (Cartridge Overall Length): Tip-to-base measurement
Less precise due to meplat inconsistencies
CBTO (Cartridge Base to Ogive): Base to ogive (bearing surface) using a comparator
This is how most precision shooters tune bullet jump
💡 Use a tool like the Hornady OAL Gauge with a modified case that's been fireformed to your chamber to accurately find your rifle’s land contact point. From there, subtract your desired jump distance to determine your starting seating depth. Just be sure the case shoulder matches your resized brass for consistent results and proper chamber fit.

🔧 3.2 Seating Tools
Tool | Notes |
Forster Ultra Micrometer Die | Micrometer control down to 0.001” |
Redding Competition Seating Die | Floating seating stem reduces runout |
Wilson Inline Seater + Arbor Press | Benchrest-level consistency |
💡 Best Practice: Use bushing dies or mandrels to set consistent neck tension before seating.
📐 3.3 Measuring and Fixing Runout
Runout = bullet tilt in the neck. It causes uneven engraving into the lands and opens up groups fast.
Tools:
21st Century Concentricity Gauge
Hornady Concentricity Tool
Custom V-block and dial setup

Target Numbers:
< 0.002” runout = precision load
< 0.005” = acceptable for hunting
🛠️ Fixing Runout Issues
Switch to inline seater
Ensure your neck tension is uniform (mandrel = consistent ID)
Polish expander balls or remove them entirely if they're dragging on the case mouth
Use seating stems that match bullet profile a poor stem fit causes bullet tilt
📄 Download Your Reloading Data Sheets
To help you track your precision loads, velocities, seating depths, and group results, we’ve created printable Reloading Data Sheets available for free on our website.
These are the same sheets we use in-house at Redleg for:
Ladder and OCW testing
Tracking powder charge, COAL, CBTO, velocity, SD/ES, and group size
Annotating conditions like temperature, wind, elevation, and barrel round count
👉 Download them here:🔗https://www.redlegguns.com/free-reloading-sheet

Print them. Use them. Build better ammo.
🏁 Coming Up Next:
Stay tuned for Part 3 where we deep-dive into:
Ladder Test vs. OCW Test
Interpreting targets
Using ES/SD vs group size for accuracy nodes
Realistic shot diagrams with group patterns like you posted
📞 (507) 677-6007📧 info@redlegguns.com🌐 www.redlegguns.com
The component behind the seating step deserves its own read: Primer Deep Dive: The Most Overlooked Component in Reloading.


Comments